Learn how to create and manage new client organizations
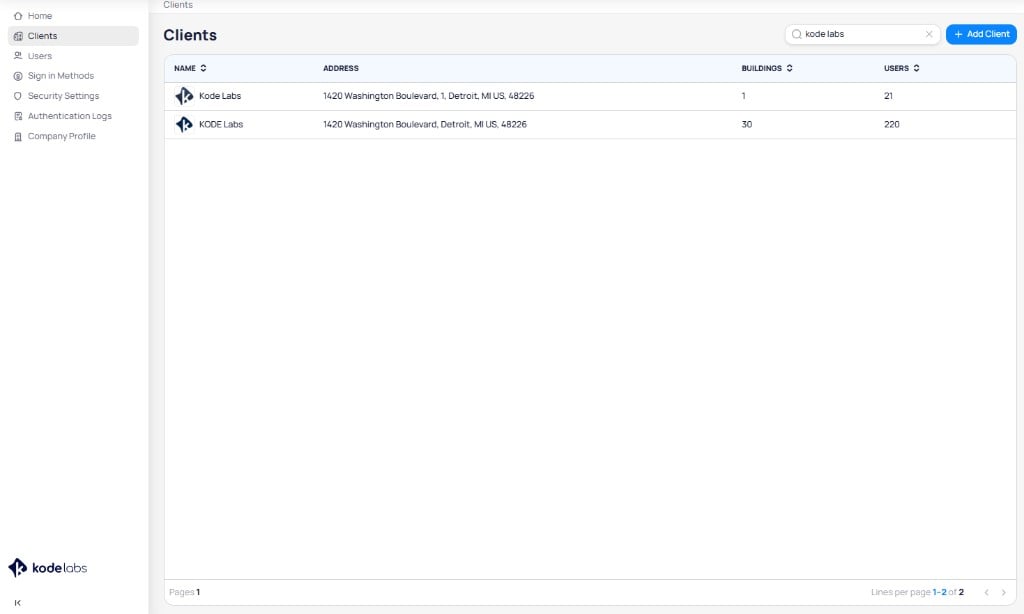
The Clients page, accessible from the left-hand sidebar, lists all existing clients in rows, with each row displaying key information about the respective client. You can create new clients from this page. Selecting a client opens a dedicated view for them, providing access to three sections: Details, Buildings, and Users.
The Clients page lists all client organizations with name, address, building count, and user count
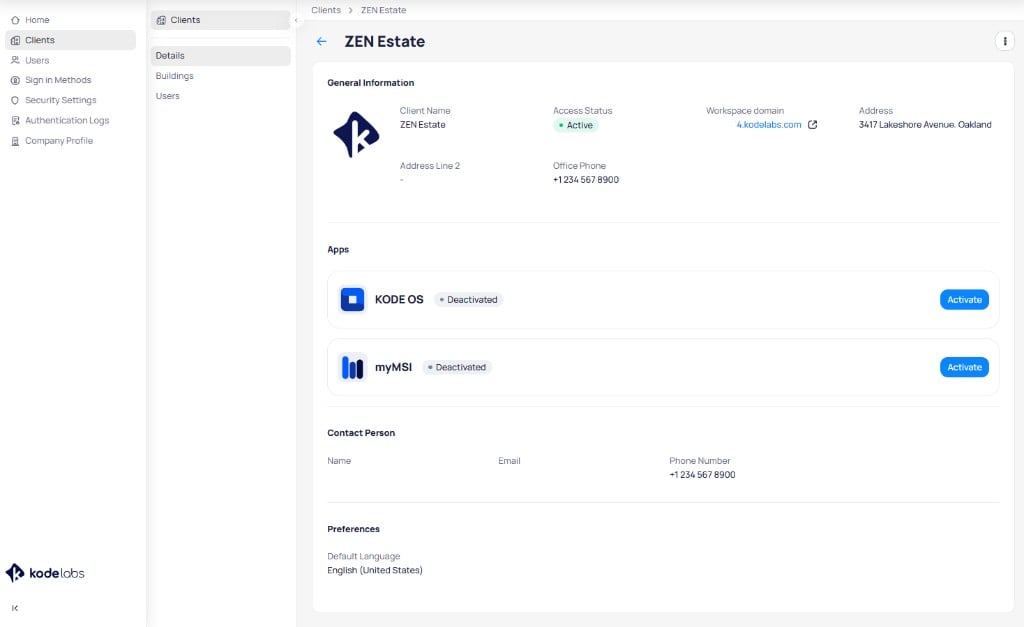
This section provides an overview of the client organization and displays active application (KODE OS) and products currently enabled across their building portfolio.Use the Details section to:
View client-specific information and details
Activate or deactivate a client
Activate applications (KODE OS)
Bulk enable or disable products across the client’s portfolio
The Details section shows general information, apps with activation status, contact person, and preferences
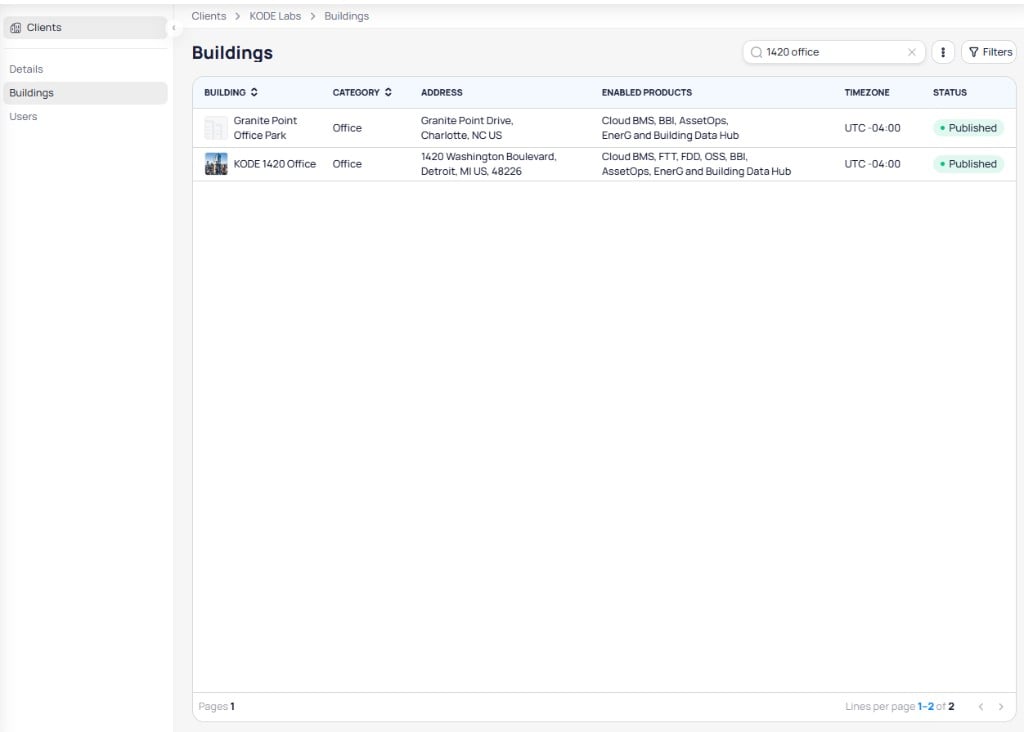
This section lists all buildings in the client’s portfolio, where each building has a dedicated page for separate management.Use the Buildings section to:
View all buildings in the client’s portfolio
View building-specific information and details
Enable or disable products for a specific building
The Buildings section lists each building with its category, address, enabled products, timezone, and status
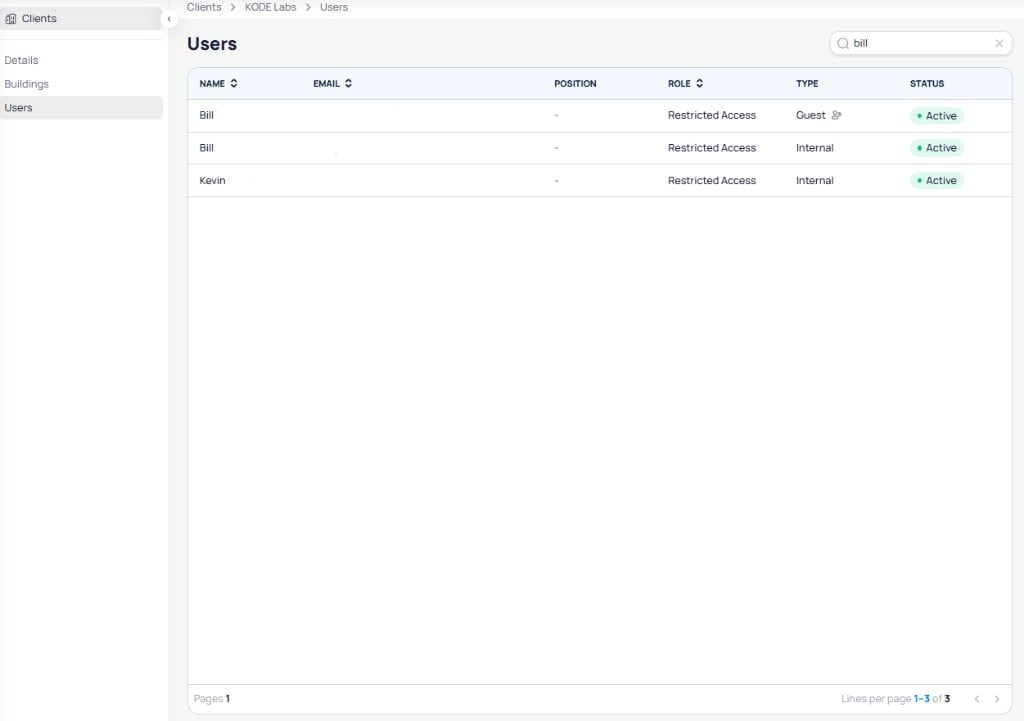
This section lists all users in the client’s Launchpad workspace, where each user has a dedicated page. User management is handled by the client organization, limiting channel partner capabilities to view-only access.Use the Users section to:
View all users in the client’s Launchpad workspace
View user-specific information and details
View apps (KODE OS) assigned and their corresponding KODE OS role
The Users section lists each user with their name, email, position, role, type, and status
You can create clients directly from the Clients page using the +Add Client button. Follow the steps outlined below to create a new client organization.
1
Open the Clients page
Once inside Launchpad, navigate to the Clients page located in the left-hand sidebar.
2
Click +Add Client
Once inside Clients click the +Add Client button to open the client creation page.
3
Configure client details
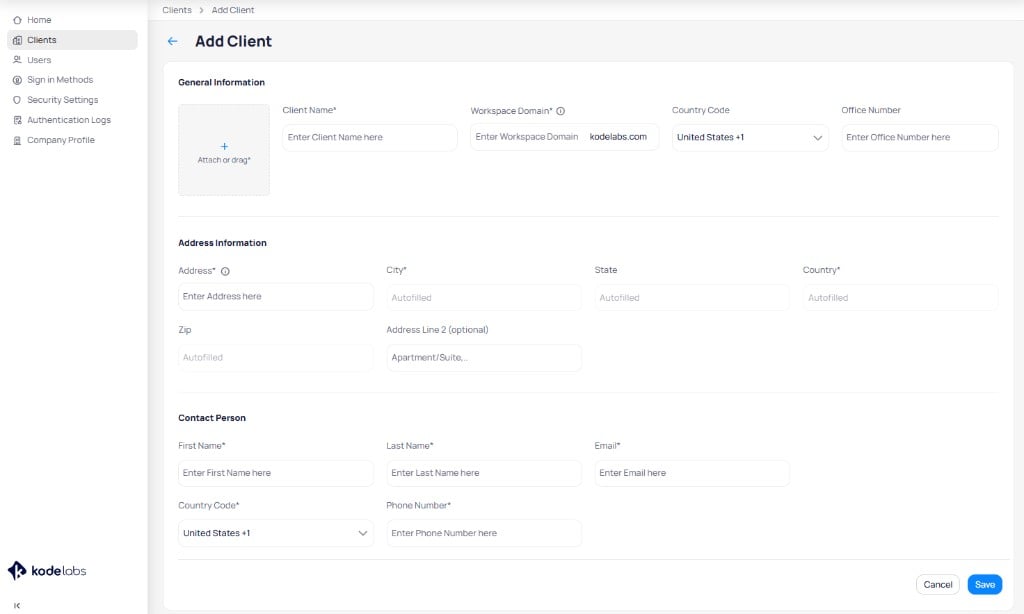
Configure the required details for the new client. The form includes three sections: General Information, Address Information, and Contact Person.
The Add Client form collects general information, address, and contact person details
Hide Example Configuration
Field
Example Configuration
Client Name
Zen Estate
Workspace Domain
zenestate.kodelabs.com
Country Code
United States +1
Office Number
+1 555 123 4567
Address
225 Broadway, New York, New York, United States, 10007
Address Line 2
(This is optional)
City
New York
State
New York
Country
United States
Zip
10007
First Name
Jane
Last Name
Smith
Email
jane.smith@zenestate.com
Country Code
United States +1
Phone Number
+1 555 987 6543
Choose the workspace domain carefully. You cannot edit it after you save the client.The client picture, when used, must be a PNG. As you type an address, Launchpad shows suggestions. Select a suggestion to auto-fill the remaining address fields.Contact Person is for visibility only. Filling those fields does not create a Launchpad user account.
4
Save
Once you have configured the required client details, click Save to create the client.
When you create a client, Launchpad automatically adds you to that client as an Admin. That grants Launchpad access only. You must still assign the KODE OS app and role before you can use KODE OS in that client.
After you create a client, switch to the client’s Launchpad workspace and create the buildings for that client. Then return to your channel partner view to activate KODE OS and enable products for the buildings you created. For more details, see product enablement.
Last modified on August 18, 2026
Was this page helpful?
Assistant
Responses are generated using AI and may contain mistakes.