

View the vendors list
Open Vendors from the portfolio sidebar to see all vendors in your portfolio.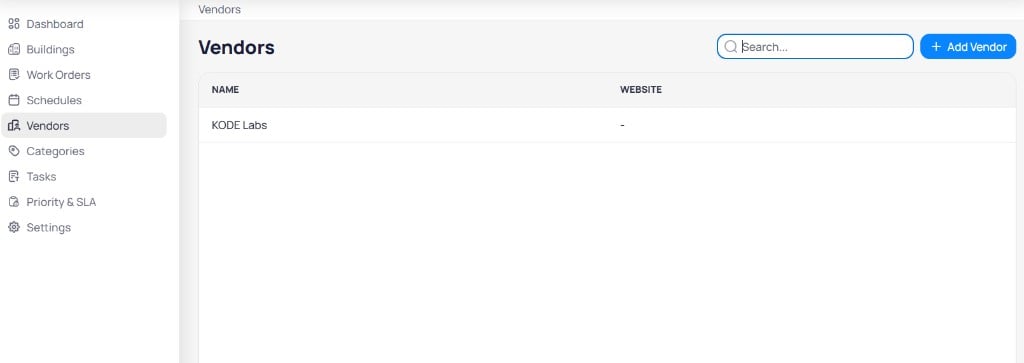
The Vendors page lists each vendor with name and website, and includes search and add actions
Use the search field to filter vendors by name. Select + Add Vendor in the top right to create a new vendor.
Add vendors
1
Open the Vendors section
In AssetOps, navigate to Vendors in the portfolio-level sidebar.
2
Click + Add Vendor
On the Vendors page, select + Add Vendor to open the creation form.
3
Enter vendor details
Enter the Name (required) and Website (optional) for the new vendor.
4
Create
Select Create to add the vendor. The new vendor appears in the list.
Vendor details and members
Select a vendor from the list to open its details page. The Details tab shows general information and assigned members.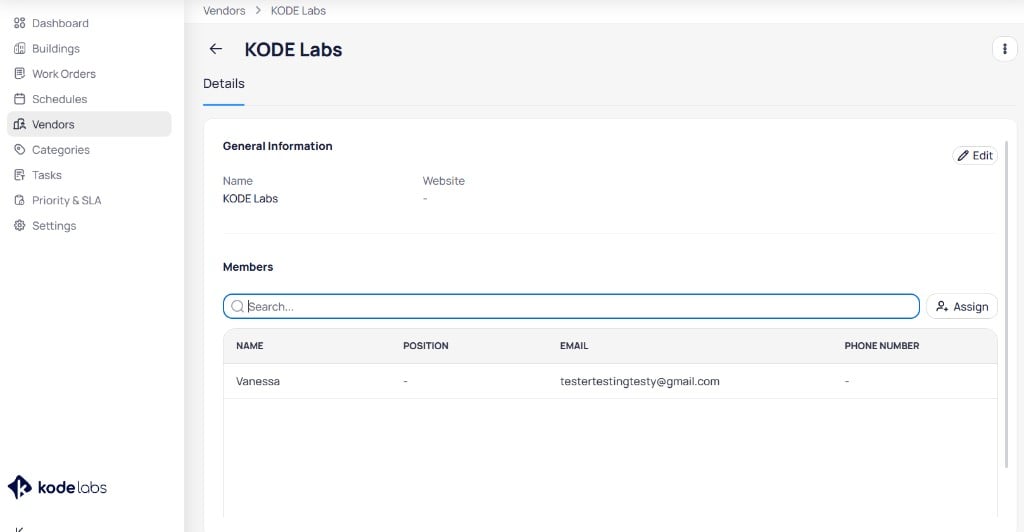
The vendor details page shows general information and a searchable members table
General information
The General information section displays the vendor Name and Website. Select Edit to update these fields.Members
The Members section lists users assigned to the vendor. Members can receive and manage work orders linked to that vendor.
Use the search field to find members. Select + Assign to add users to the vendor.
User profiles for vendor members are created and managed in Launchpad. Assign existing users on the vendor details page.
Assign members
1
Open the Vendors section
In AssetOps, navigate to Vendors in the portfolio-level sidebar.
2
Select a vendor
Select a vendor from the list to open its details page.
3
Assign users
In the Members section, select + Assign and choose the users you want to assign as vendor members.
4
Save
Select Save to confirm the assignment.
Manage vendors
On the vendor details page, you can edit vendor information, manage members, or remove the vendor.- Select Edit in the General information section to update the vendor name or website.
- Select the menu icon in the upper right corner to delete the vendor.
- Use the row menu on a member to unassign that user from the vendor.
- Select + Assign to add additional members.
Related modules
Work orders
Assign vendors when you create work orders at the building level.
Buildings
Open a building to use vendors in building-level operations.